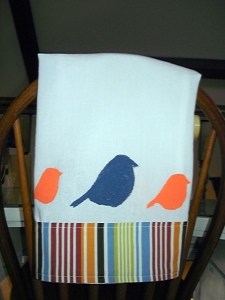
This tutorial will show you how to dress up a plain white flour sack dish cloth. I picked up four cloths at Deal’s scoring each two pack for only a dollar. For the embellishments I used fabric paint and fabric from Hobby Lobby. The fabric cost a few dollars because I didn’t need very much of it and the fabric paint was just a dollar each. I am using orange and blue paint and the paint is a matte finish as I didn’t think shiny would be the best in the kitchen.
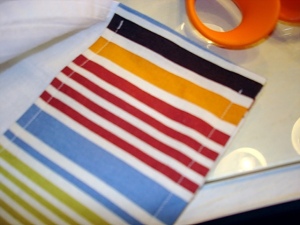
I am using fabric in cordinating colors – one striped and one polka dotted. This will give me to sets of cordinating (but not matchy matchy) towels to give as gifts.
First you need to measure and cut your fabric. To figure out how long I needed the fabric to be I ironed then layed out the towels to find the length. Add 1/2 inch to this measurement for folding over the raw edges of your contrasting fabric. After you know how long your fabric stripe is going to be you need to figure out how wide. I made mine 4 inches wide when finished so do make it the same measure 4 1/2 inches so that you have enough fabric to fold over the raw edges.
When sewing, your iron is your best friend.
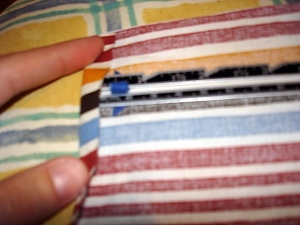
Once you have cut out your fabric, iron under the raw edges on the long sides – 1/4 inch on each side.
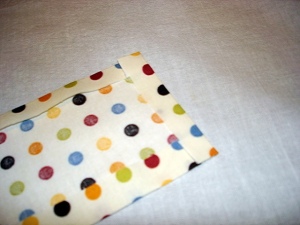
When you have finished that, fold under and iron the raw edges from the short sides.
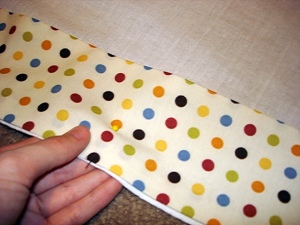
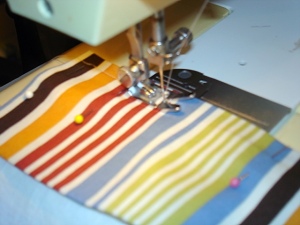
Layout your flour sack towel and lay your stripe out on it. Get it positioned where you want it to be then pin it to the towel. Top stitch the fabric to the towel. I did horizontal stitching only and did not go vertically up the sides. When you are done, trim your threads and repeat with the next towel.
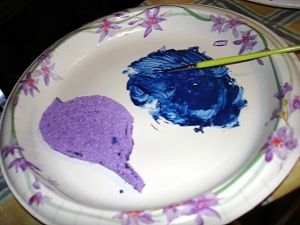
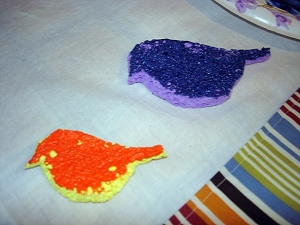
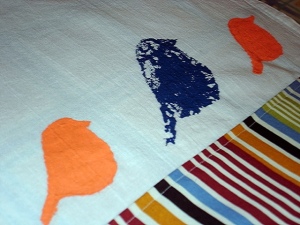
These towels are 100% prettier with the fabric added but I wanted a little more interest. I am using matte fabric paint – blue and orange for these – to stamp birds just above the added fabric. To make the stamps I used the printables from Craft Magazine and two sponges. I traced the pattern of one of the birds onto a sponge and then used an Exacto knife to cut it out. I squirted some paint onto a paper plate, dipped the sponge stamp into it and then placed it onto the towel.
Make sure you cover the surface under your towel where you will be painting. I used wax paper for easy cleanup.
Sometimes the sponge leaves the paint with gaps or holes on the impression so I just used a paint brush to smooth out bumps, globs, and imprefections.
When you have added all the painted details you want to your towel, allow to dry as the paint instructions indicate. When it has cured you will have a unique and impressive gift for family and friends, or you can keep them for your own kitchen!
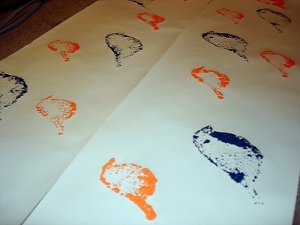
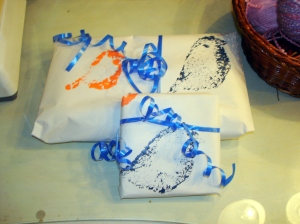
If you are feeling extra crafty, you can use any extra or left over paint to stamp paper to make cordinating custom gift wrap!
Happy crafting!


Recent Comments